After the pulping
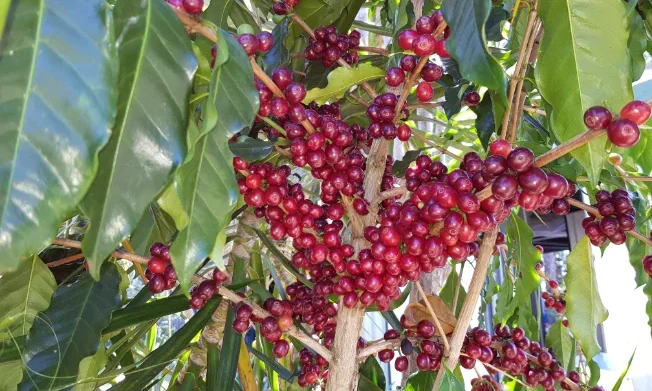
Cherries can be dried as ‘naturals’, with the skin on, but pulping the skins off while the cherries are fresh and soft means they come off much more easily. In the last post I went over the picking and pulping steps, but with a bucket of pulped coffee, now what?
What is Mucilage?
The skins might be gone, but the beans have a thin layer of sweet flesh known as mucilage still clinging tightly on. Before drying it can be removed – washed off – which is known as the ‘wet method’. Or, the beans can be dried as they are with the mucilage on into what are known as ‘honeys’. Honeys, just because they go a yellowy colour as they dry.
Removing the Mucilage
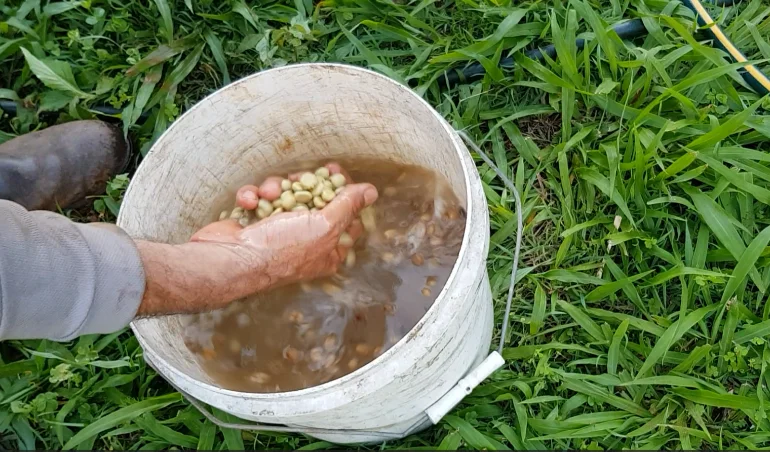
“Washed” means soaking the beans in water for a day or so to ferment and loosen off the mucilage. That fermentation process also imparts some flavour to the bean. Initially they’re very slippery but after all the fleshy mucilage has disintegrated into the water they’ll feel and sound gravelly. Don’t leave them in water too much longer or it starts to impart too much funky flavour and can even spoil the beans. The warmer the weather the quicker it happens, typically 18 to 24 hours.
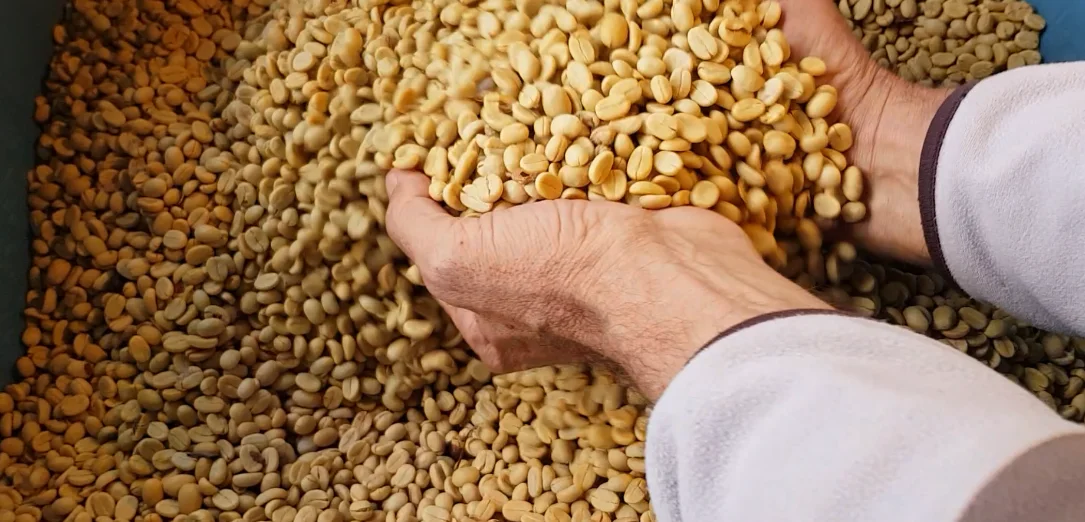
Once they’ve been rinsed clean and drained, spread them out to dry. That is the wet method. It’s how I process most of my coffee and it’s the way most of the coffee you’ll find on the supermarket shelves has been processed.
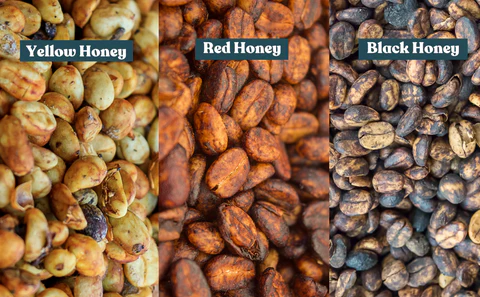
Honey Coffee
For honeys spread the skinless cherries straight out to dry with the mucilage still on. There is greater risk of mould so extra care needs to be taken to turn them more often. Instead of spreading them out thinly some growers keep them piled up together for longer. That extends and deepens the ferment and they go a darker yellow or even a brown colour. So you get light honeys and dark honeys. It does take some extra skill and experience to avoid spoiling them. Honeys can have some unique flavours, somewhere between naturals and wet processed.

Drying
Whether washed or honeys, the beans need to be dried carefully. You want to rapidly dry off the surface moisture to reduce any chance of mould. For your first crop and for most of the coffee you grow, the washed method will be the easiest and safest.
If it’s not too hot, dry them in the sun for a day or so, turning them several times. It’s even more important for honeys because they take longer to dry. A piece of shade cloth to spread them on is ideal. It breathes a bit and it makes it easy to mix them or drag them around or tip them into a tub.
Dry under cover once they’re loose and dry to touch, but also on really hot days so they don’t dry too quickly. Speed drying is fine for mass-produced export coffee but for the home-grower the goal should be to dry them slowly and steadily so they remain alive and so stay fresh as long as possible. Dry for about ten days or up to two weeks or longer if the days are cool and damp, down to a moisture content of about 10-12%, which is the ideal for roasting.

Parchment Coffee
After drying, there is still a layer to remove – the parchment. The green bean you actually roast is inside a thin crispy, pale yellow shell. This is known as parchment coffee and it’s the best way to store it coffee long term.
How dry?
Unless you have a moisture meter handy, test dryness by crumbling off the now brittle parchment. Bite a bean to see how hard it is, aiming for about the same as a dried kidney bean. Its a feel thing; hard and definitely not rubbery. If you have a larger amount, weigh out exactly 100gms and thoroughly desiccate for a few hours in a warm oven. If they were at 12% moisture, then there should be 88gms dry weight left. Keep drying for a few more days if needed.
Storing Parchment Coffee
Once they’ve passed the bite test – whether washed or honey – they can be safely sealed in an air-tight container in a dark cupboard. The parchment is removed for export coffee (reduces the weight), but for the home-grower it should remain on until you’re ready to roast them. It protects the bean and most will be still viable to germinate for several months; in other word still alive and fresh. After a year, very few of the beans will still be viable to germinate, but stored like this they will make delicious coffee for several years.
As the beans ripen during a season I’ll pick, process and dry them in batches one after the other, adding them to the store for the year ahead. One of my great pleasures with this hobby is opening up a tub of last season’s crop that was sealed 6 or 8 months ago and smelling the ageing parchment coffee.
I’ve never had any go mouldy in storage but during a really humid, rainy period I had a batch of washed coffee get a touch of surface mould as they were drying. They just stayed damp too long. Once they were dry properly they seemed fine and I just stored them like normal. After I hulled the parchment layer off it didn’t seem to make any difference to the flavour.
Resting Parchment Coffee
Strongly resist the urge to hull and roast as soon as they’re dry. Let them rest for a month or better still three. The remaining moisture in each bean must be allowed to spread through evenly. Roasted too soon, the uneven moisture will cause some parts of a bean to under-cook and other parts to scorch. It will taste awful and you will be disappointed. If good things come to those who wait then that especially applies to parchment coffee.
Speaking of parchment and hulling, see the next post for how to easily remove and separate that parchment layer and to reveal the prize inside; ready-to-roast green coffee beans.