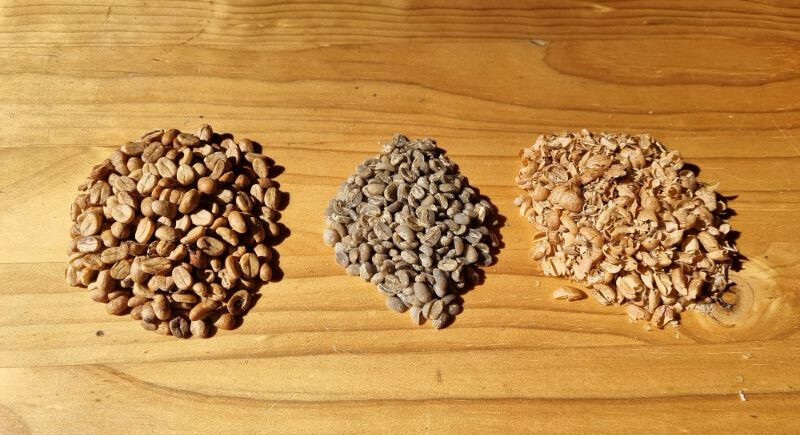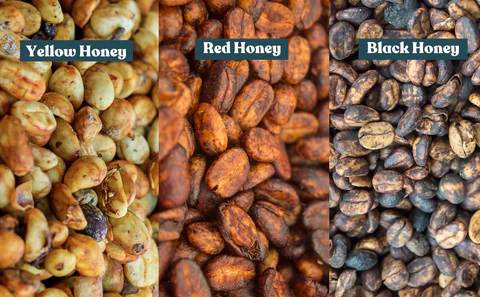
In the last post, I hulled my home-grown, parchment coffee into green beans.
Now let’s roast ’em.
Why Roast at Home?
Good coffee is getting more expensive and the cost of roasting is half of it. Yes, green beans are half the price of roasted beans. Whether you’ve bought green beans grown your own, you don’t need an industrial roaster, years of training or a wall of dials and gauges.
Millions of people roast their own coffee daily – most of them in a pan over an open flame!
Coffee roasting is very simple. A few guidelines will get you a long way:
- Preheat to about 200 °C.
- Keep the beans moving throughout.
- Roast roughly 12–14 minutes.
- Steadily increase the temperature from medium-high to high ( 200 °C to about 230 °C) during the roast.
The goal is an even roast with no scorching and allow to cool quickly.
Starting With a Frying Pan
My roasting journey began with what I already had: a frying pan.
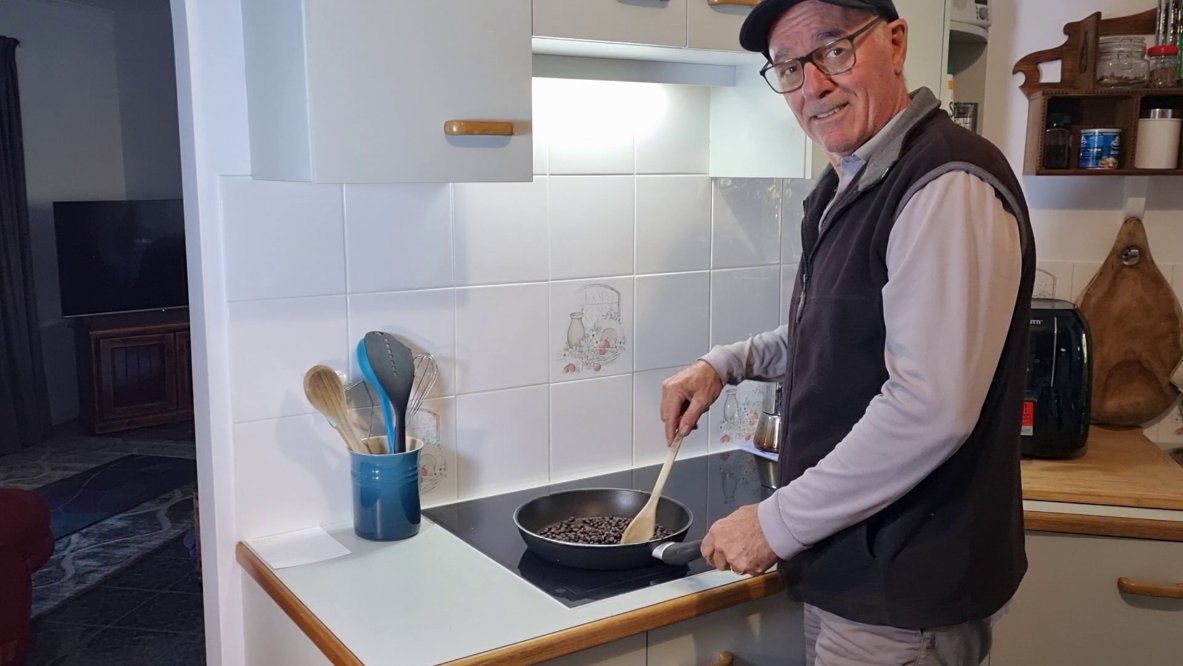
With steady stirring a frying pan can roast coffee reasonably well; 60 million Ethiopians cant be wrong. It teaches you the basics—heat control, bean movement, and how quickly things go at the end of the roast.
My first 15-minute batch smoked out the house, made an enormous mess as the fine ‘silver-skin’ layer flew every where. The result: uneven, scorched, tasted awful, threw it out. But after a few attempts, the results started improving; you can make delicious coffee with nothing more than a frying pan and a whisk.
The Oven? Not Really
I don’t recommend the oven. You can’t easily stir the beans so they tend to roast unevenly and you still get the smoke and mess.
It can work, but it can also set off the fire alarm which is what I saw someone else do in a video.
So avoid the smoke and mess; coffee roasting is definitely an outdoor job.
A Popcorn Popper Upgrade
A hot-air popcorn popper is a clever upgrade. It keeps the beans moving without constant stirring and can produce excellent coffee in small batches.
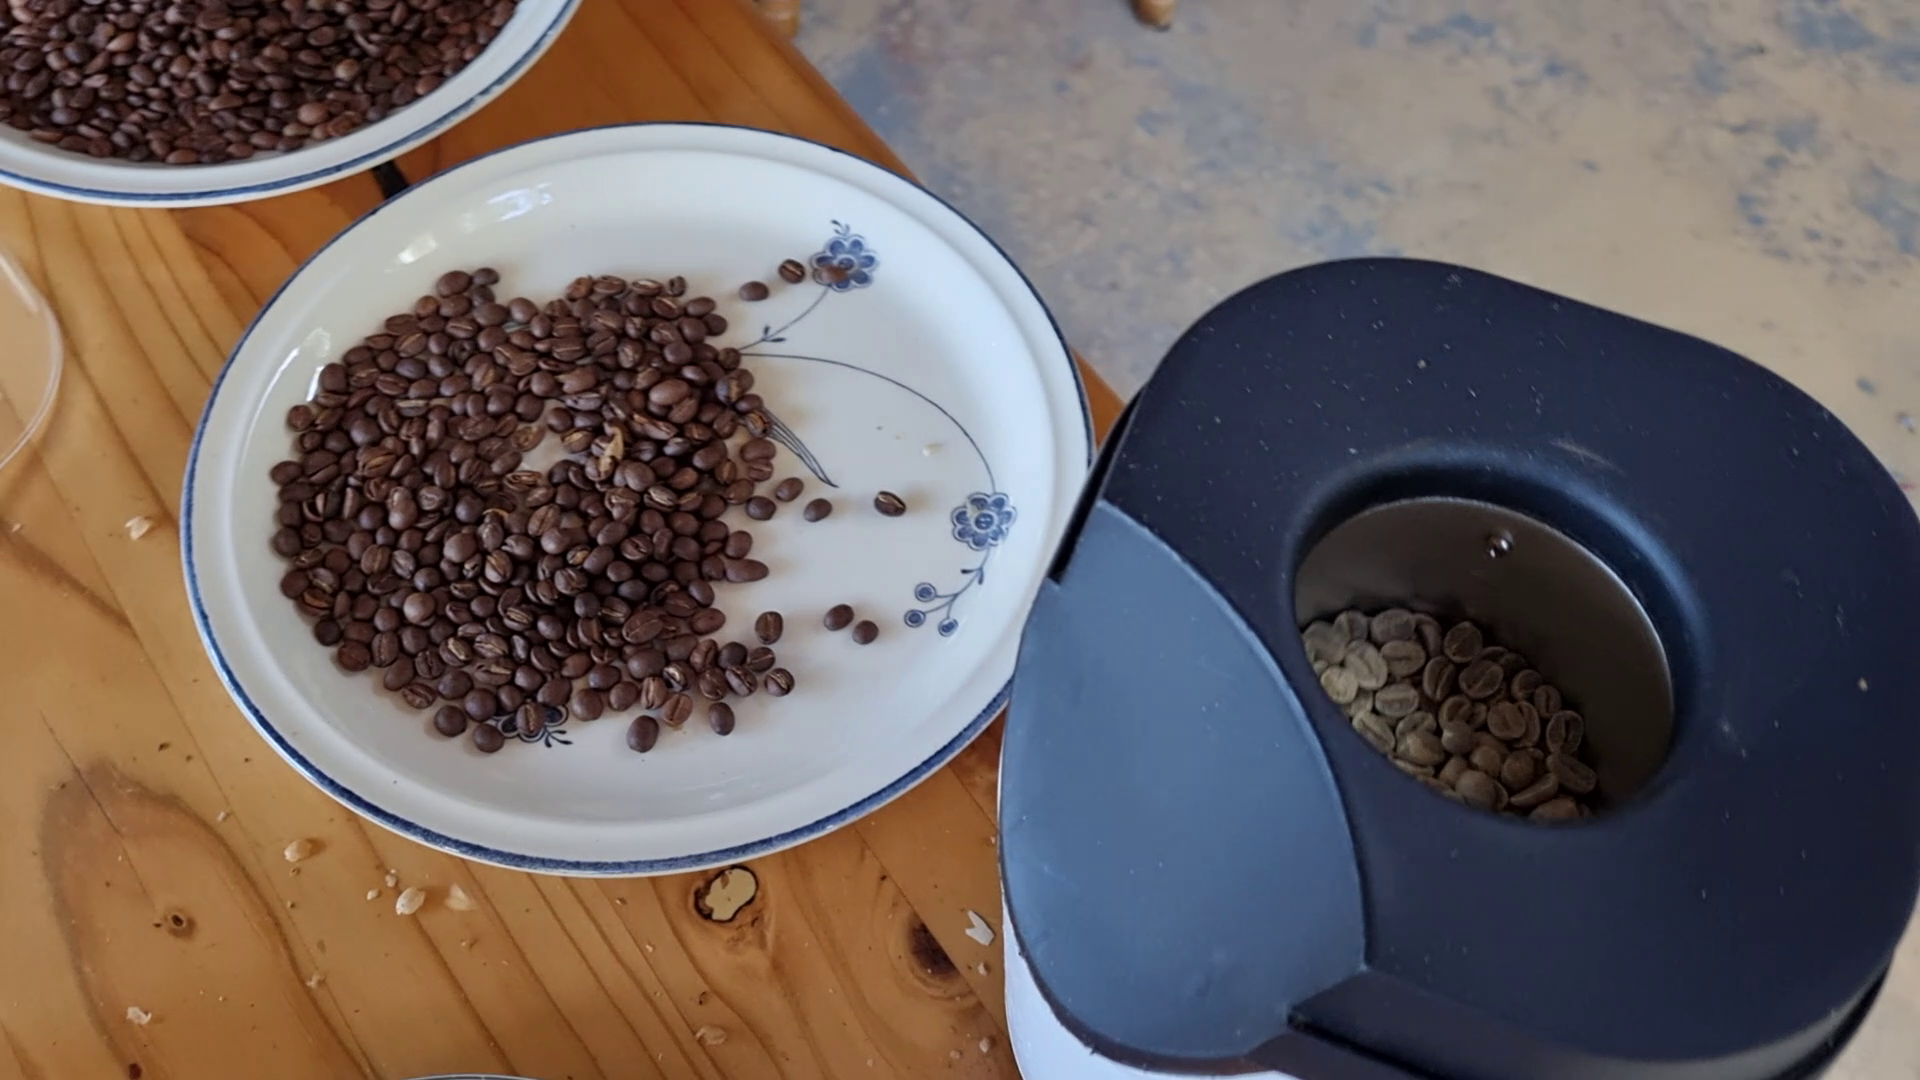
My first popper took only 50 g so I replaced it with one that can handle 75 g—still only about a day’s worth of coffee here, but handy for test batches, demos, or a quick top-up roast.
Scaling Up: My Custom BBQ Roaster
Roasting every day is a nuisance. I wanted larger batches, I needed an outdoor setup with more capacity and better control.
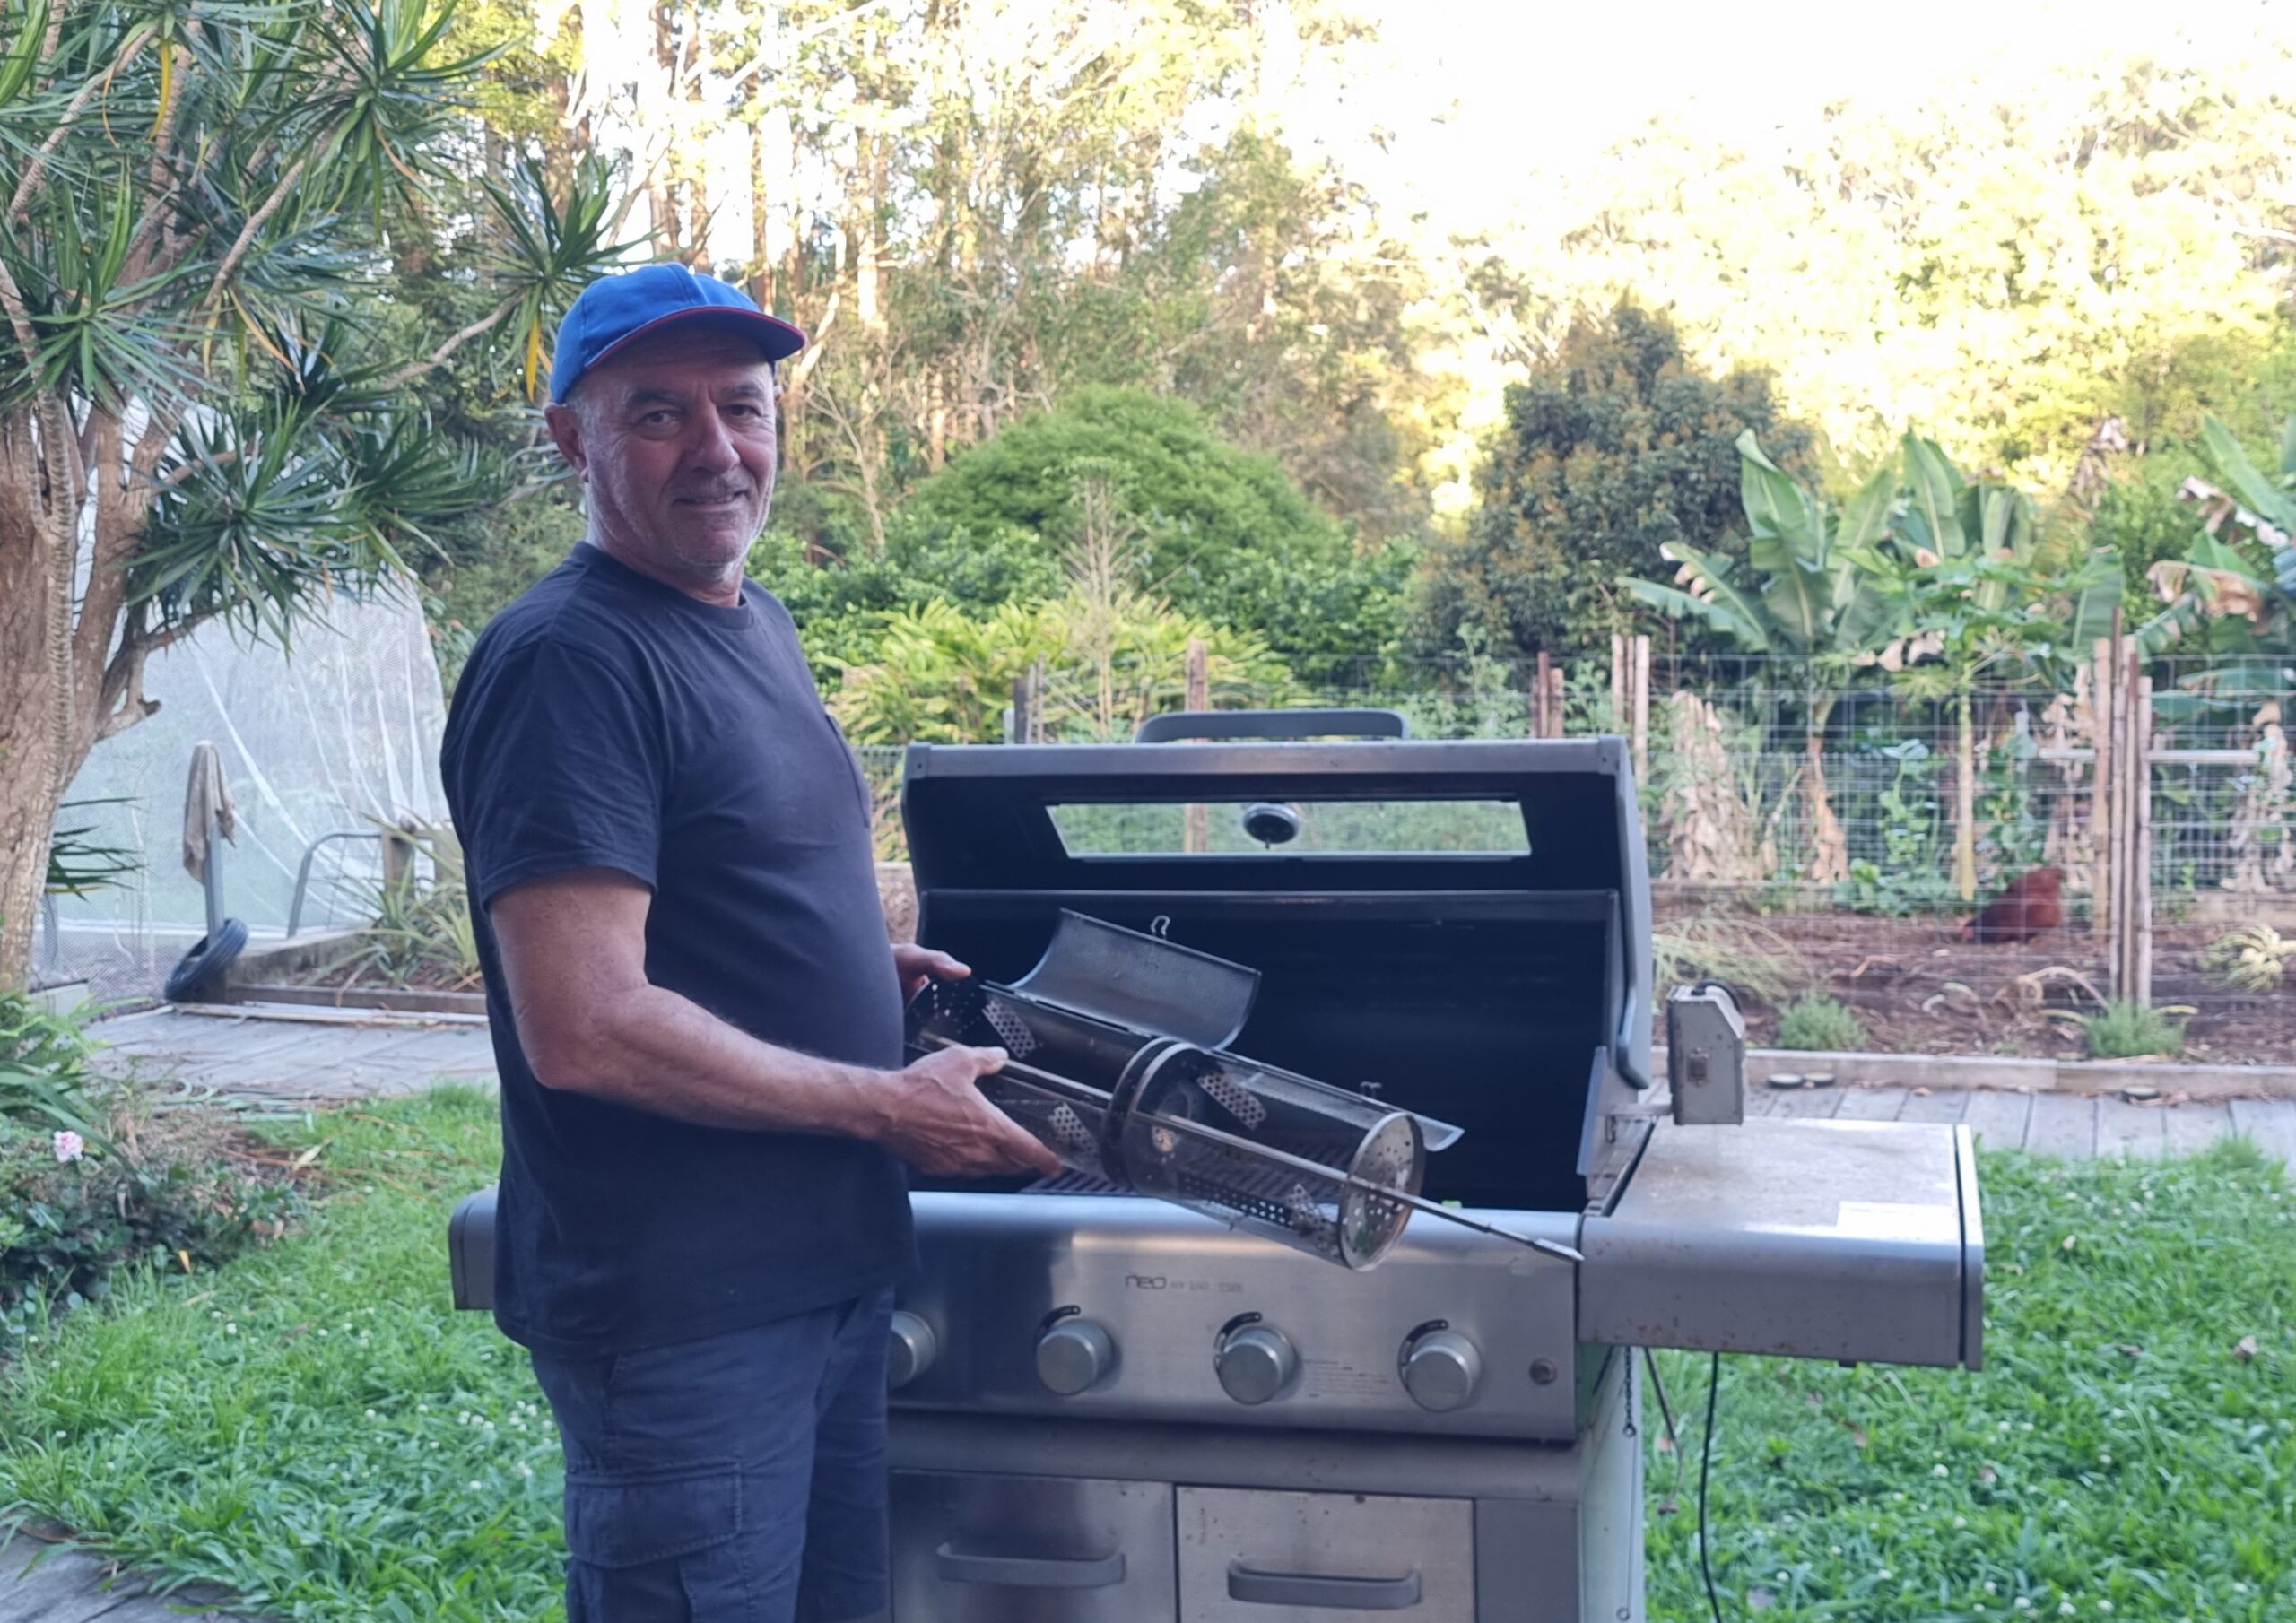
After trying and modifying ideas from other home roasters, I built my own rig: a second-hand four-burner BBQ with a window, a rotisserie, and two peanut-roasting drums. Cost me about $100 all up.
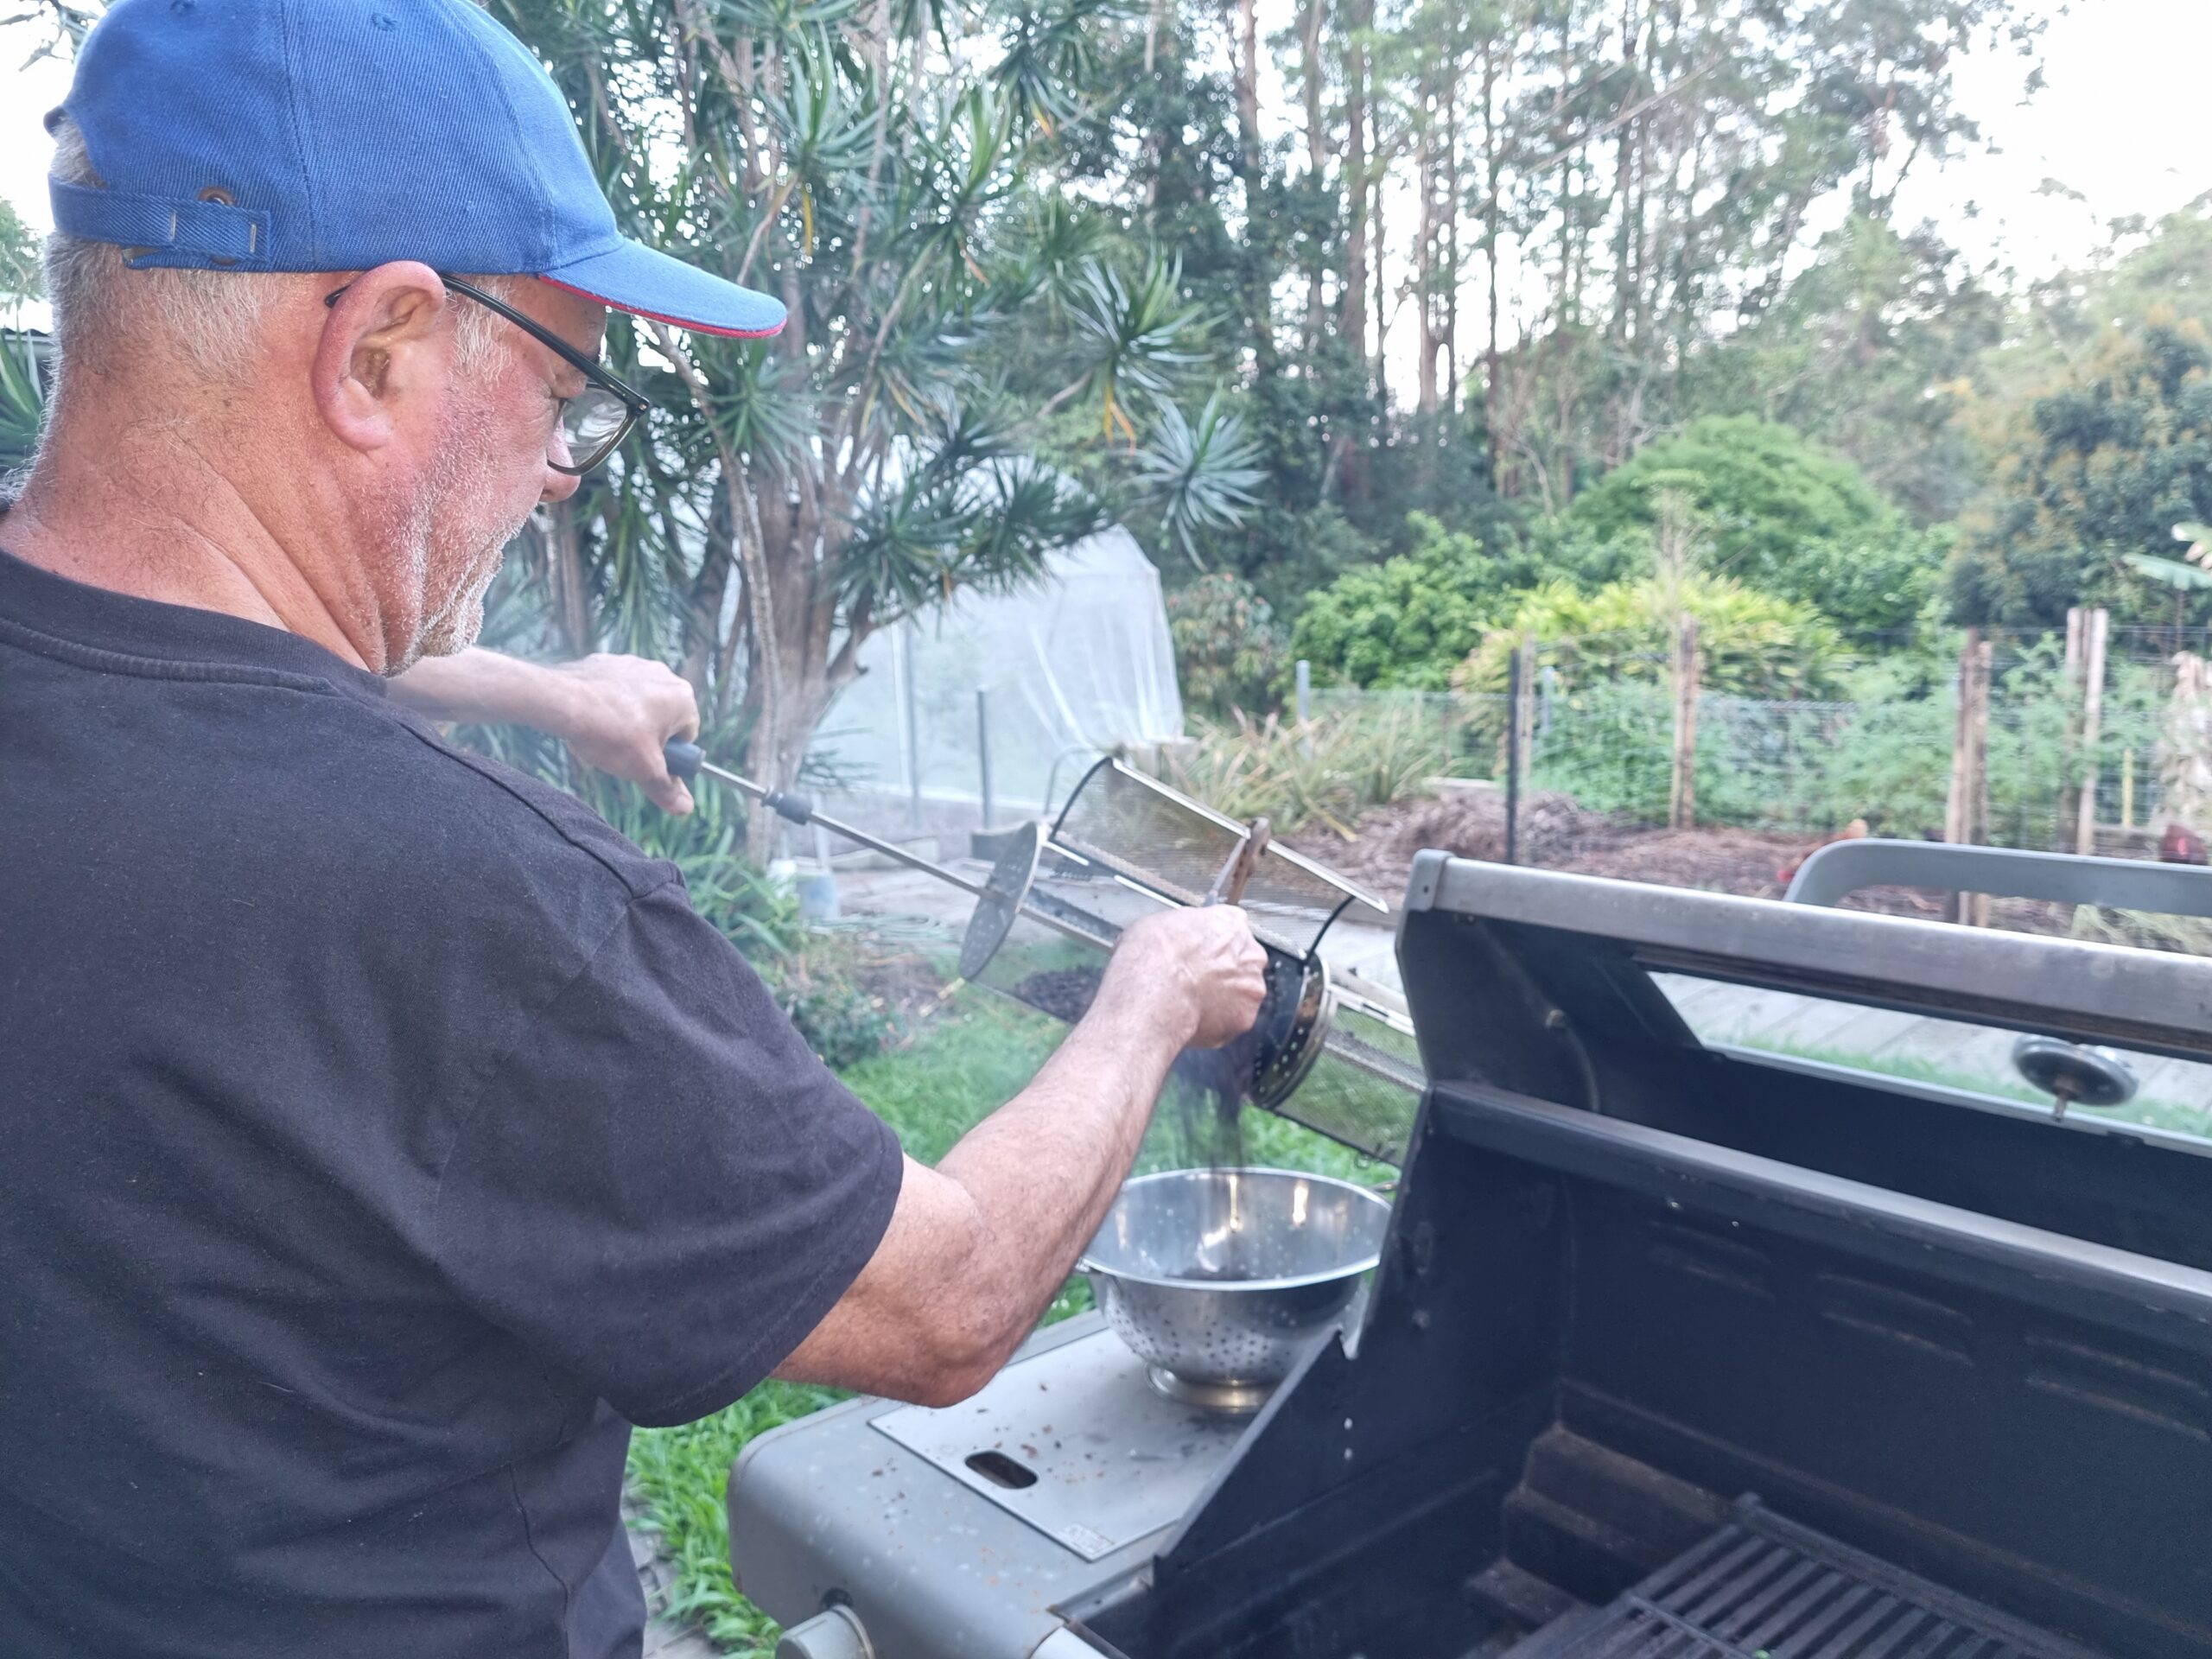
It’s easy to load and empty, needs no heat-proof gloves and can roast up to 600 g at a time.
The first practice batch was burnt, of course, and tasted not of coffee but of charcoal. The second was under-roasted and tasted like sour lawn-clippings. But the third hit the sweet spot: an even medium roast with sweet, nutty, chocolatey flavours and floral notes in the brewed coffee. A wow moment!
The Discovery
After a few more batches and some tweaking, it was dawning on me: fresh, home-roasted (and in my case home-grown as well) coffee can be better than anything you buy.
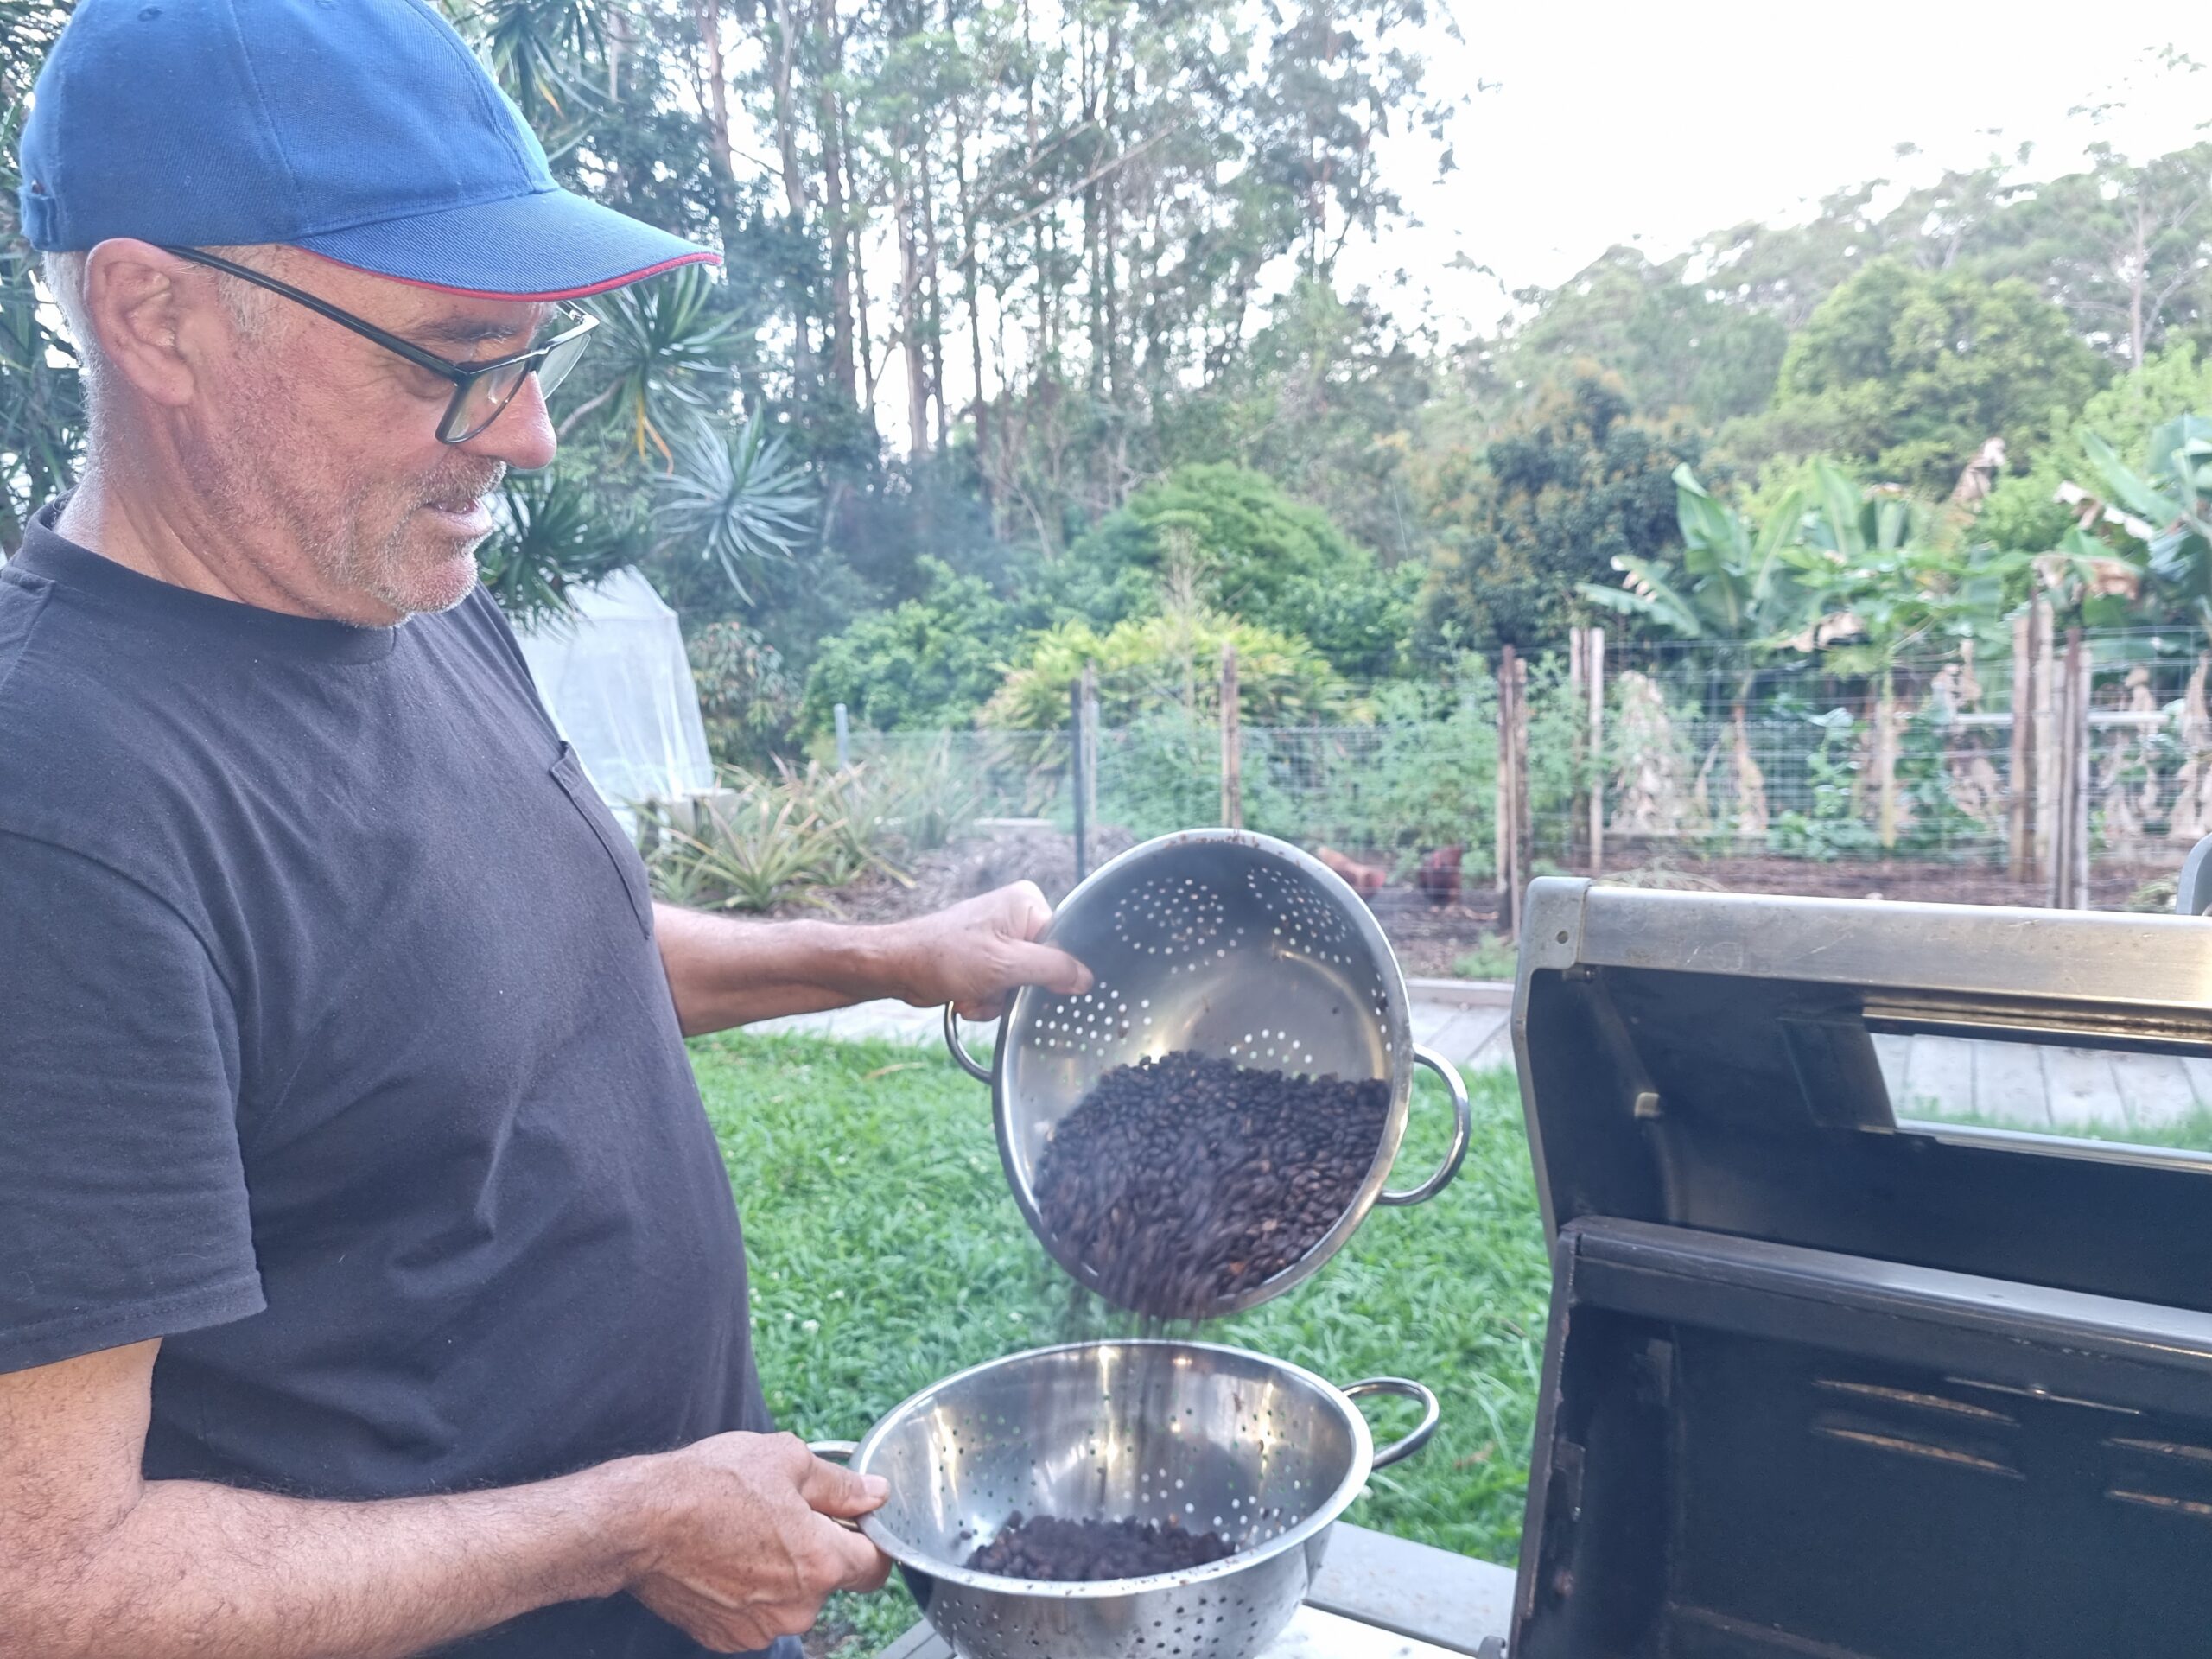
It is fresh, rich, and remarkably good and so, so satisfying. These days I only buy roasted coffee when travelling—and usually decide “it’s okay, but not as good as mine”.
Ready to Brew
You don’t need to grow your own to enjoy home roasting. Green beans are widely available and usually cost about half the price of roasted beans. If you’ve never tasted freshly roasted coffee – you are in for a surprise.
Next, I’ll look at three ways to brew a delicious cup using beans straight from my own garden.